
Understanding the Benefits of Building Your Own Gaming PC
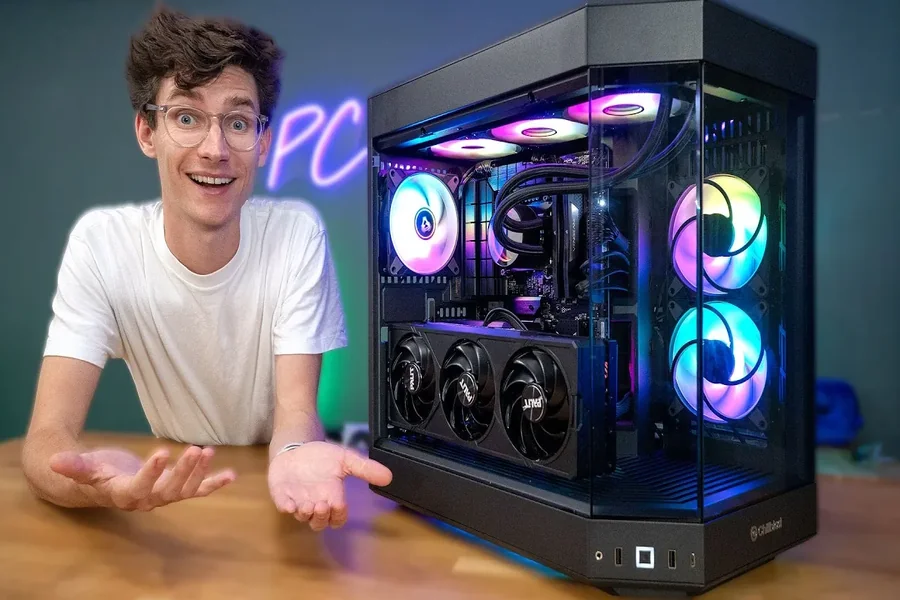
Building a gaming PC is one of the most rewarding experiences for any gaming enthusiast. It allows you to customize a machine tailored to your specific needs, ensures better performance, and often saves money compared to buying a pre-built system. For beginners, the process might seem daunting, but with the right guidance, it can be straightforward and even fun. This comprehensive guide will walk you through every essential step to build your own gaming PC from scratch.
Before diving into the hardware and assembly process, it’s important to understand why building a gaming PC is beneficial. First, customization allows you to select components that match your gaming preferences—whether that means focusing on graphics performance, fast load times, or future upgradability. Second, assembling your PC yourself ensures quality control; you know exactly what goes inside your machine. Lastly, a self-built PC often delivers better value for money, avoiding the markup that comes with pre-built gaming rigs.
Essential Components Needed for Your Gaming PC
Building a gaming PC requires selecting compatible and efficient parts. Here are the main components you’ll need:
Central Processing Unit (CPU)
The CPU is the brain of your PC, handling all instructions and processes. For gaming, select a CPU with strong single-core performance and multiple cores to handle multitasking. Popular choices include AMD Ryzen and Intel Core processors.
Graphics Processing Unit (GPU)
The GPU renders images, animations, and video for your games. It is the most critical component for gaming performance. NVIDIA and AMD offer powerful GPUs designed specifically for gaming.
Motherboard
This is the main circuit board connecting all components. The motherboard must be compatible with your CPU’s socket type and support other features like RAM type, storage options, and expansion slots.
Memory (RAM)
RAM allows your PC to run games and applications smoothly by providing fast, temporary data storage. For gaming, 16GB of DDR4 RAM is typically the sweet spot, balancing cost and performance.
Storage
Storage holds your operating system, games, and files. Solid State Drives (SSDs) offer much faster load times compared to traditional Hard Disk Drives (HDDs). Consider using an SSD for your OS and most-played games and an HDD for mass storage.
Power Supply Unit (PSU)
The PSU supplies power to all components. Choosing a reliable PSU with sufficient wattage is crucial for stability and future upgrades. Look for units with 80 Plus certification for efficiency.
PC Case
The case houses all your components. Choose a case with good airflow, enough space for your GPU, and compatible with your motherboard form factor (ATX, micro-ATX, mini-ITX).
Cooling Solutions
Cooling keeps your PC components at optimal temperatures. Most CPUs come with stock coolers, but aftermarket air or liquid cooling can improve thermal performance and reduce noise.
Operating System (OS)
Windows is the most popular choice for gaming due to wide compatibility. You’ll need a valid license to install and activate it on your new build.
Step-by-Step Guide to Building Your Gaming PC
Step 1: Prepare Your Workspace and Tools
Choose a clean, flat surface with plenty of light. Gather tools such as a Phillips-head screwdriver, anti-static wristband, and thermal paste if your CPU cooler doesn’t come with pre-applied paste.
Step 2: Install the CPU on the Motherboard
Open the CPU socket latch on the motherboard carefully. Align the CPU correctly using the notches or triangle indicators and gently place it into the socket. Secure the latch back down.
Step 3: Install the RAM Modules
Locate the RAM slots on the motherboard. Open the clips on both ends and firmly press the RAM sticks into the slots until they click into place. Ensure they are fully seated and locked.
Step 4: Attach the CPU Cooler
If using a stock cooler, attach it directly onto the CPU by aligning the mounting points. For aftermarket coolers, follow manufacturer instructions carefully. Apply thermal paste if needed. Connect the cooler’s fan cable to the CPU fan header on the motherboard.
Step 5: Install the Motherboard into the Case
Place the motherboard on top of the case’s standoffs to avoid electrical shorts. Align the I/O shield with the case rear, then secure the motherboard using screws. Take care not to overtighten.
Step 6: Install the Power Supply Unit (PSU)
Insert the PSU into its compartment in the case, usually at the bottom or top rear. Screw it in securely. Route the power cables for easy access to components.
Step 7: Install Storage Drives
Mount SSDs or HDDs into their designated trays or slots inside the case. Connect them to the motherboard using SATA cables (unless using an NVMe M.2 SSD, which plugs directly into the motherboard).
Step 8: Install the Graphics Card (GPU)
Remove the appropriate expansion slot covers from the case’s rear. Insert the GPU into the primary PCIe slot on the motherboard until it clicks. Secure the card with screws and connect PCIe power cables from the PSU.
Step 9: Connect Power and Data Cables
Attach the 24-pin motherboard power cable and the 8-pin CPU power cable from the PSU to the motherboard. Connect SATA power and data cables to storage devices. Plug in front panel connectors (power switch, USB, audio) as per the motherboard manual.
Step 10: Cable Management
Organize cables neatly to promote airflow and aesthetics. Use zip ties or Velcro straps to bundle cables and route them behind the motherboard tray if possible.
Step 11: First Boot and BIOS Setup
Connect your monitor, keyboard, and mouse. Power on the PC. Enter the BIOS/UEFI by pressing the designated key (usually Delete or F2) during startup. Check that all components are detected and configure boot priority to your OS installation media.
Step 12: Install Operating System and Drivers
Insert your OS installation USB or DVD and follow on-screen instructions to install Windows or another OS. After installation, download and install the latest drivers for your GPU, motherboard chipset, and other peripherals.
Tips for a Successful Gaming PC Build
- Do thorough research on each component to ensure compatibility and performance balance.
- Watch tutorial videos and read manuals carefully during assembly.
- Ground yourself to prevent static damage to sensitive components.
- Update BIOS and drivers regularly to maintain system stability and performance.
- Invest in quality parts for the PSU and cooling system to protect your investment.
- Consider future upgrades when selecting the motherboard and PSU.
Optimizing Your New Gaming PC
Once your gaming PC is up and running, optimize it by adjusting in-game settings to balance performance and visuals. Use monitoring software to track temperatures and system loads. Periodic cleaning and software updates will keep your machine running smoothly.
Conclusion
Building a gaming PC is an empowering way to engage with your hobby on a deeper level. By selecting components that match your needs and assembling them with care, you create a powerful gaming rig tailored just for you. While the process requires patience and attention to detail, the resulting performance, customization, and cost savings make it well worth the effort.
Embark on your build journey with confidence, and soon you’ll enjoy games with greater control, higher frame rates, and stunning visuals—all from a system you built yourself.