
From Product Photos to Video: A Practical Guide for Small Ecommerce Brands
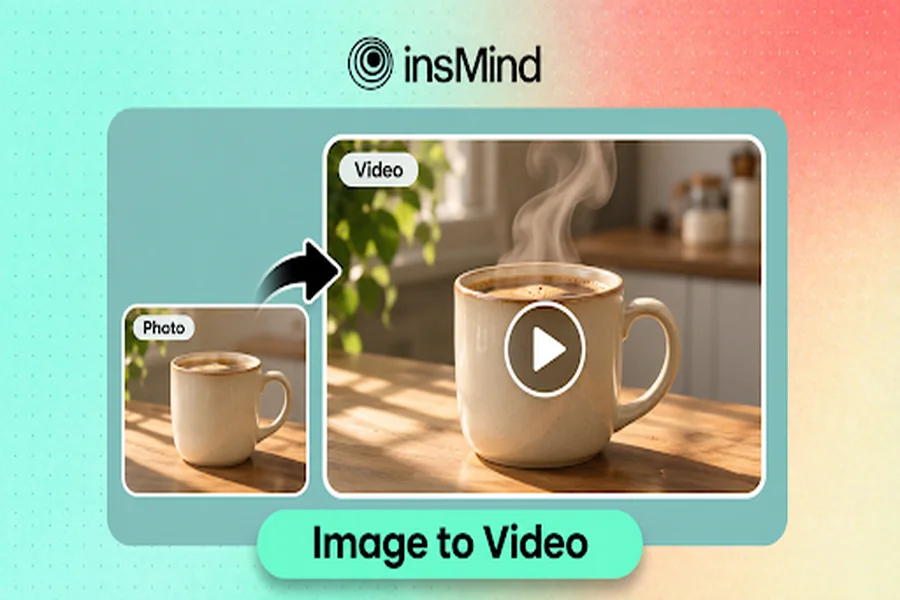
A product photo answers an important question: what am I buying? A useful product video answers a different one: how might this fit into my day? A mug can sit neatly against a white background, yet a slow reveal on a breakfast table tells a more specific story. The challenge for a small store is creating that sense of use without organizing a new shoot for every item.
Image-to-video generation offers a way to test those visual ideas using photographs you already own. The strongest results usually begin with a modest brief: one product, one movement, and one reason for the viewer to keep watching. Here is how to plan a product clip that supports your catalog instead of distracting from it.
Choose the job before choosing the movement
Decide where the clip will appear and what it needs to explain. A product-page video might direct attention to texture or shape. A social teaser might establish a mood. A launch email might need an inviting opening frame that works even before someone presses play.
Write the job in one sentence: “Help shoppers notice the cup’s rounded handle.” That is a more useful brief than “make something cinematic.” It gives you a clear standard for evaluating the result and prevents an attractive animation from drifting away from the item being sold.
You can use insMind to turn product photos into videos by supplying a source image and describing the desired motion. Treat the first output as a creative draft. Your product knowledge remains essential when deciding whether the result represents the real item accurately.
Start with a photo that can carry the idea
Choose a source image with a clear subject, readable edges, and enough room around the product for the intended movement. A tightly cropped photograph may leave little space for a camera move. A confusing background can also make it harder to see which details should stay stable.
Before uploading, inspect the image at a comfortable viewing size. Look for distorted perspective, reflections that hide important surfaces, or props that obscure the product. If a detail is central to the selling point, it needs to be visible in the starting image.
Avoid asking the animation to reveal a feature that the photograph does not show. A camera orbit around a bag, for example, asks the system to invent unseen surfaces. A restrained push toward its visible stitching is a more controllable creative choice.
Write a motion brief with limits
A useful product prompt separates the subject, action, camera, and atmosphere. Start with the smallest movement that communicates the idea. Then specify which physical details should remain unchanged.
For a ceramic mug, an example brief might read:
A cream ceramic mug rests on a wooden breakfast table. The camera slowly moves closer to the handle. Soft morning light falls across the glaze. Keep the mug’s shape and color stable, with no added writing or extra objects.
This is an example to adapt, not a guaranteed recipe. If the output changes the handle or adds an unwanted logo, revise the brief or choose a clearer source image. Adding more adjectives will not necessarily resolve an ambiguous composition.
A simple campaign can use a small family of briefs: a texture close-up, a wider lifestyle shot, and a gentle reveal. Keep the product and lighting direction consistent so the clips feel related.
Build and review a first version
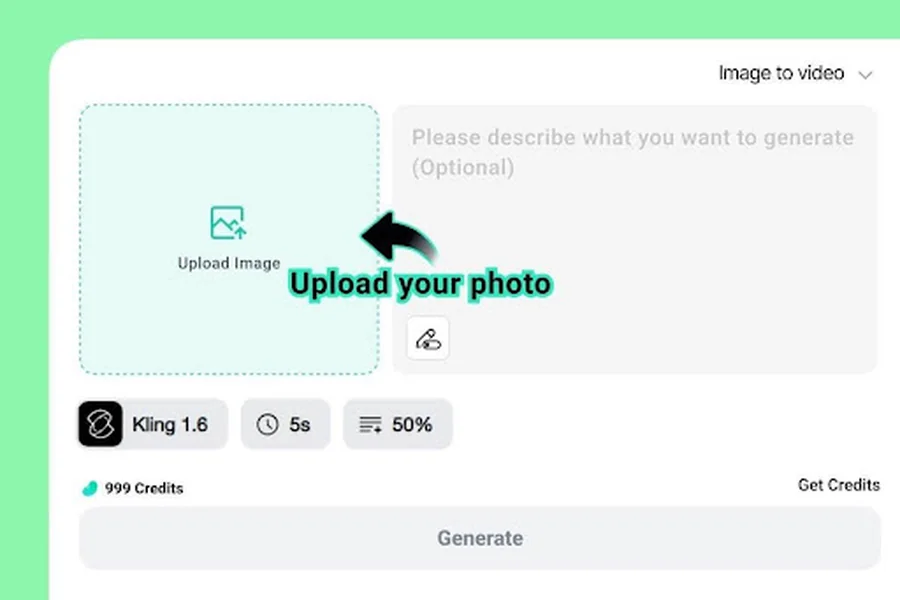
1. Upload the selected product image
Open the image-to-video page and add the clearest photograph for your chosen idea. Check the starting composition before you spend time refining the motion. If the product is already hard to recognize, animation is unlikely to make the message clearer.
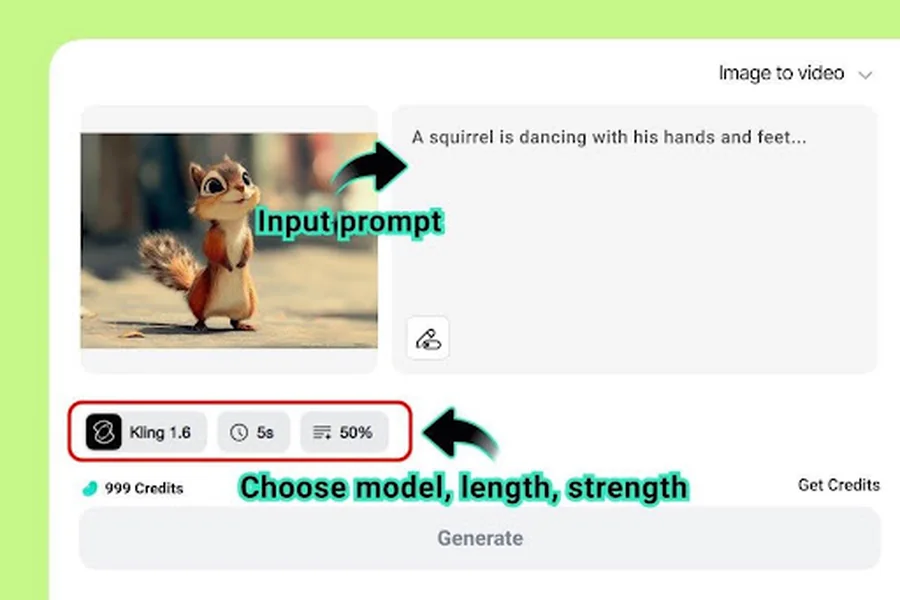
2. Describe the movement
Enter a focused prompt with one main action and a clear camera direction. Mention the intended mood and format where relevant. Keep important constraints close to the action rather than burying them in a long paragraph of unrelated instructions.
3. Generate and inspect the whole clip
Watch for changes in the product silhouette, surface details, shadows, and relationship to surrounding props. Review the beginning, middle, and ending rather than judging the result from its most attractive frame. A smooth opening cannot compensate for a distorted product at the end.
4. Save the usable version
Download the result you have checked and give it a descriptive filename. Keep the original photograph alongside it. This makes later revisions easier and gives everyone on the team a reference for checking product accuracy.
Expand the concept without losing the product
Sometimes your brief grows beyond animating one photograph. You may want a new opening scene, a different visual setting, or an additional shot developed from an idea. The broader AI video generator can be useful for exploring that direction.
Keep those concept shots separate from evidence about the actual product. A generated lifestyle setting can communicate atmosphere, but it should not imply a physical feature, included accessory, or use case that the real item does not support. Clear internal labels help prevent a mood experiment from being mistaken for approved product footage.
For a more personal presentation, consider an AI UGC video generator for creator-style product demos. That direction calls for a different brief: who is presenting the item, what they do with it, and which single benefit the scene illustrates. It should still be checked against your real packaging and product details.
Judge usefulness, not just visual polish
Ask a colleague to watch the clip without reading your brief. Can they identify the product? Do they notice the detail you intended to emphasize? Does any movement compete with that detail? These questions provide more useful feedback than a general request to make the video “pop.”
If the concept works but the finished file needs attention, you can investigate an AI video enhancer to improve video clarity. Enhancement is a finishing decision, however. It cannot make an inaccurate product shape or an invented feature become truthful.
Start with one item and one purpose. Build a clip, review it carefully, and compare its usefulness with the original photograph. Once that small experiment works, apply the same discipline to the next product. A coherent set of honest, readable clips is more valuable than a large collection of impressive motion with no clear selling job.