
How to Progressively Increase the Difficulty of Resistance Band Leg Exercises
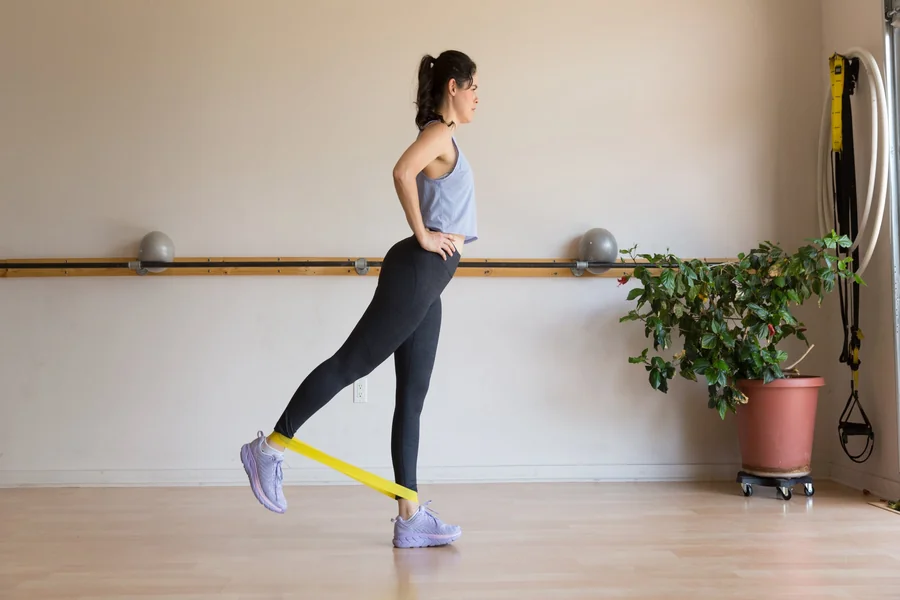
Resistance bands make leg training adjustable, but progress requires more than choosing a thicker band. A useful progression changes one training demand at a time, such as tension, repetitions, range of motion, tempo, or balance. That approach keeps technique visible while the muscles adapt to increased work. It also gives each session a clear purpose instead of relying on fatigue alone. The following steps explain how to increase difficulty without losing control.
Before training, choose resistance bands for legs that match the movement and ability. A lighter band suits warmups and recovery work, while a heavier band creates tension during squats, hinges, bridges, and lateral steps. The collection lists bands from extra light through heavy options, including ranges such as 3 to 15 lb and 25 to 70 lb.
1. Establish A Repeatable Baseline
Start by recording the band resistance, exercise, repetitions, and perceived effort for each movement. Use a load that allows eight to 12 controlled repetitions with a steady range of motion. Stop the set when your spine, knees, or hips shift before you can complete another repetition.
Record the last clean repetition rather than chasing a target that damages technique. Repeat the baseline for two sessions. If both sessions look similar, add one progression method during the next workout. This record separates improved capacity from temporary fatigue and makes changes easier to assess.
Before each session, inspect the bands for cuts, thinning, or damage, and replace any band that shows wear. If you are new to resistance training or returning after a break, consult a physician before starting. Resistance bands commonly contain latex; check product details if you are sensitive to latex.
2. Increase Tension Gradually
Increase tension gradually by moving farther from an anchor, shortening the band before each repetition, or selecting the next resistance level. A band usually feels harder at greater stretch, so the starting position matters as much as the label.
For a squat, keep both feet stable and maintain even pressure through the floor. When the band pulls your knees inward, take smaller steps during lateral movement. Add tension only after the current load permits quiet, controlled repetitions.
When a heavier band reduces the range of motion, return to the previous level and build repetitions first. This order protects technique and gives progression a measurable structure.
3. Build Repetitions Before Changing Exercises
Use repetitions as the first adjustment when equipment changes are limited. A practical sequence is 8 to 12 repetitions, then 12 to 15, while keeping the same tempo and range.
Once the top of the chosen range feels controlled for two workouts, increase tension slightly and return to the lower count. Keep one or two repetitions in reserve rather than pushing every set to failure.
This approach limits form breakdown, especially during split squats and single-leg hinges. Count each side separately when one leg works at a time. Matching both sides prevents the stronger leg from hiding a weaker one.
4. Manipulate tempo and range
Slow the lowering phase to two or three seconds, pause briefly at the hardest point, then return under control. A slower eccentric phase increases time under tension without requiring a heavier band.
Start with a shorter range if balance or joint control fails at full depth. Then add five degrees or one extra second only after the current range stays stable.
During glute bridges, pause at the top without arching the lower back. As you lower straight down during split squats, keep the front knee aligned with the foot. Tempo changes should make the exercise harder while preserving the intended joint positions.
5. Add Unilateral And Balanced Demands
Change the exercise only after basic patterns feel consistent. Two-leg squats should precede split squats, and a supported single-leg bridge should precede an unsupported version.
Unilateral work raises balance demands because one side cannot share the load. Hold a wall or stable support when balance limits the target muscles. Progress by reducing hand support, extending the range, or adding a repetition before choosing more resistance.
Keep the pelvis level and the knee tracking over the foot throughout each repetition. If the working side loses position, return to a simpler variation for the next session. This adjustment keeps the load on the intended muscles.
Conclusion
Progress should be visible in the log, not just inferred from soreness. Choose one change for the next session, such as five additional repetitions, a slower lowering phase, or a slightly heavier band. Keep every repetition controlled, and stop when alignment changes. After two consistent workouts, apply the next adjustment. This method builds leg strength through measured increases while keeping the exercise practical at home. A simple record then shows which progression improved performance and when the current resistance needs another step.